한국어
If you buy a Synology NAS and add features to it, you’ll be instructed to access SSH.
However, care must be taken when setting up SSH, as misconfiguring them could put the NAS at great risk.
First, (1) How to set up SSH on a Synology NAS (2) How to access SSH, in order.
(1) How to set up SSH on a Synology NAS
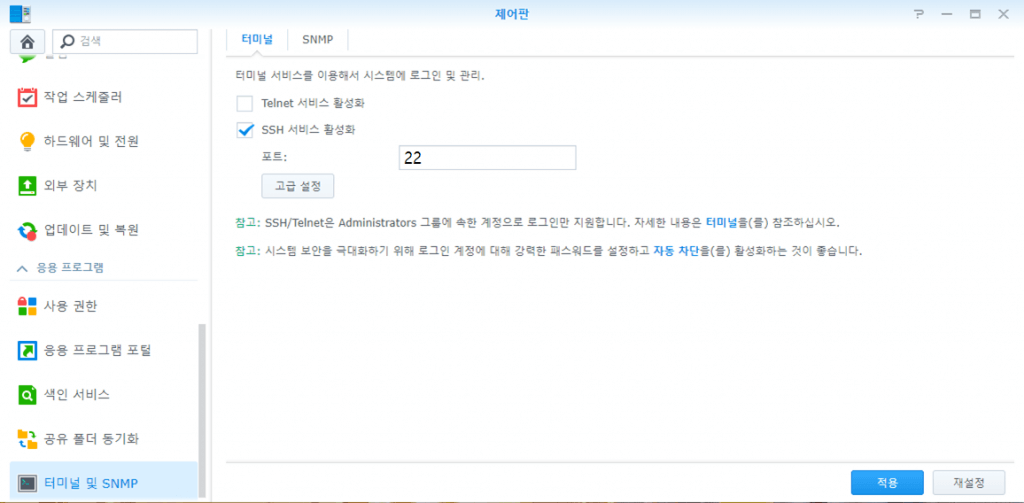
First, you can activate the SSH service on a tab called Terminal by entering the Control Panel – Terminal and SNMP menus. The SSH service port is essentially number 22, but this port must be changed “unconditional.” It must be changed, not an option, otherwise the NAS will be plagued by hacking attempts. Once described here, it is the default port number 22.
(2) How to access SSH
For Windows 10, the SSH client is built in by default. (CMD) If you don’t want to use it, try using a program called PUTTY.
NOTE: Download from the official PUTTY homepage
(1) Using PUTTY
When you install and run PUTTY, you can see the following screen:
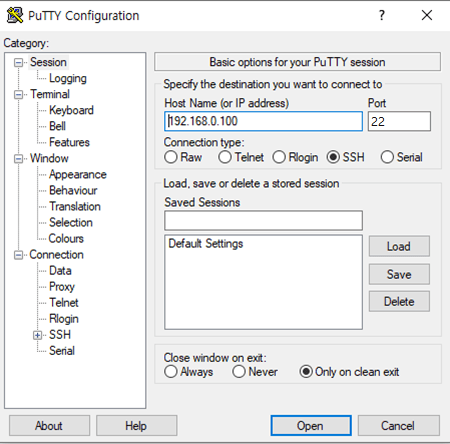
The important things here are Host Name and Port number. If Host Name is a network on a share, such as a NAS, you can enter the NAS’s internal IP. If you want to connect from the outside, you must have DDNS set up on the NAS. Assuming the NAS’s DDNS address is main.synology.me, simply enter main.synology.me in the Host Name and insert the port number 22 set above. Check the connection type with SSH and then press Open.
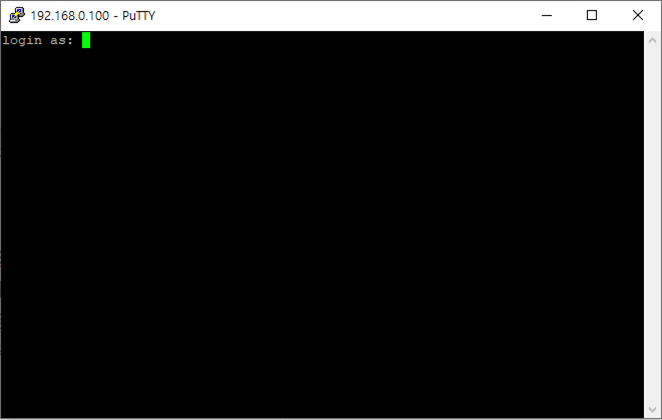
This will open the login window. Enter the technology NAS ID with administrator privileges and press enter. (This is assumed that ID is ‘main’)
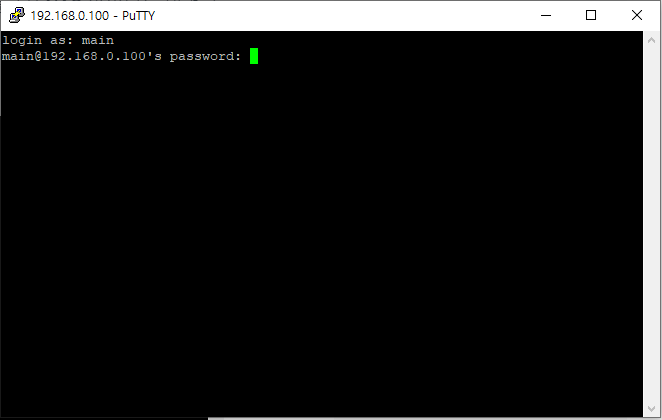
Then a window pops up asking you to enter your password. Let’s enter your password.
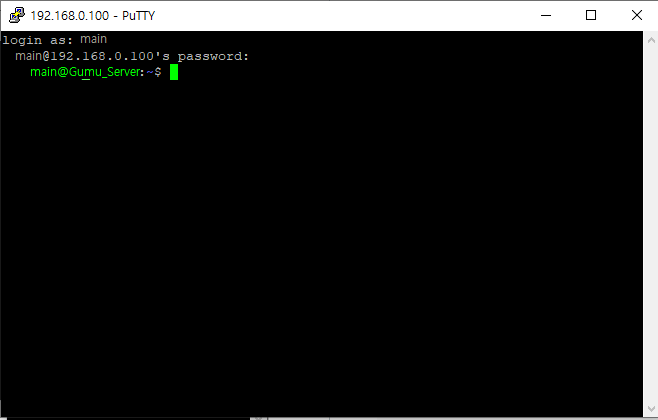
I succeeded in signing in.
(2) Using Windows CMD
I don’t know if it’s just me, but when I have to work outside, or when I have to hurry up to my computer, I feel uncomfortable and uncomfortable to install Putty. What is useful in this situation is SSH connection through Windows CMD. Never hold a Wi-Fi in public and do so. It’s too dangerous.
Turn on the CMD first in Windows 10. You can turn on the CMD as an Enter after selecting Windows key+cmd input+command prop or after entering Windows key+R -> cmd.
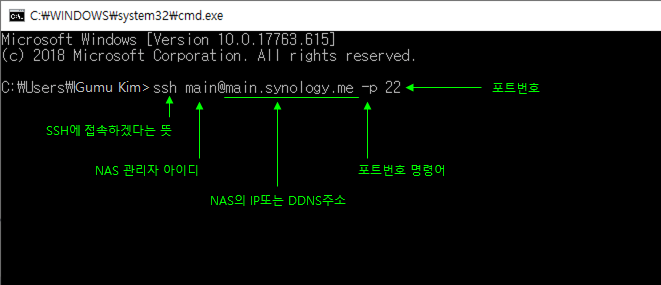
Enter as below in the CMD window.
ssh [Administrator ID]@[NAS ConnectionIP or DDNS Address] -p [port number]
Then the following window opens.

It means whether you trust the computer you are trying to access or not. Let’s type ‘yes’ and press the entry.
After that, the password entry window appears, and the user enters the password, and then presses the entry to connect normally.
NOTE: The password does not display ***. If nothing appears, try to enter your password without panic.
0 Comments