한국어
Why don’t you imagine that you want to have your own email address? @hotmail.com or @snu.ac.kr or @gmail.com is easily accessible to anyone, but e-mail addresses such as @fire.com must not be easily accessible.
Synology NAS has a package called Mail Plus Server and Mail Plus. These packages help you run your mail server easily. First, you need some preparation to use your own app.
Prepare: Synology NAS, Synology account, domain in which you own
Port forwarding: 143 ports, 80 ports, 25 ports, 993 ports, 465 ports, 587 ports.
Course Summary: (1) Package Installation (2) Package Settings (3) Domain Settings (4) Apply to Mail Clients
(1) Package Installation
Package installations can be installed through the NAS’s package center, as can other package installations. When you install Mail Plus, the Mail Plus Server is installed automatically.
(2) Package Settings
It is not easy to set up a package. Let’s try to imitate it.
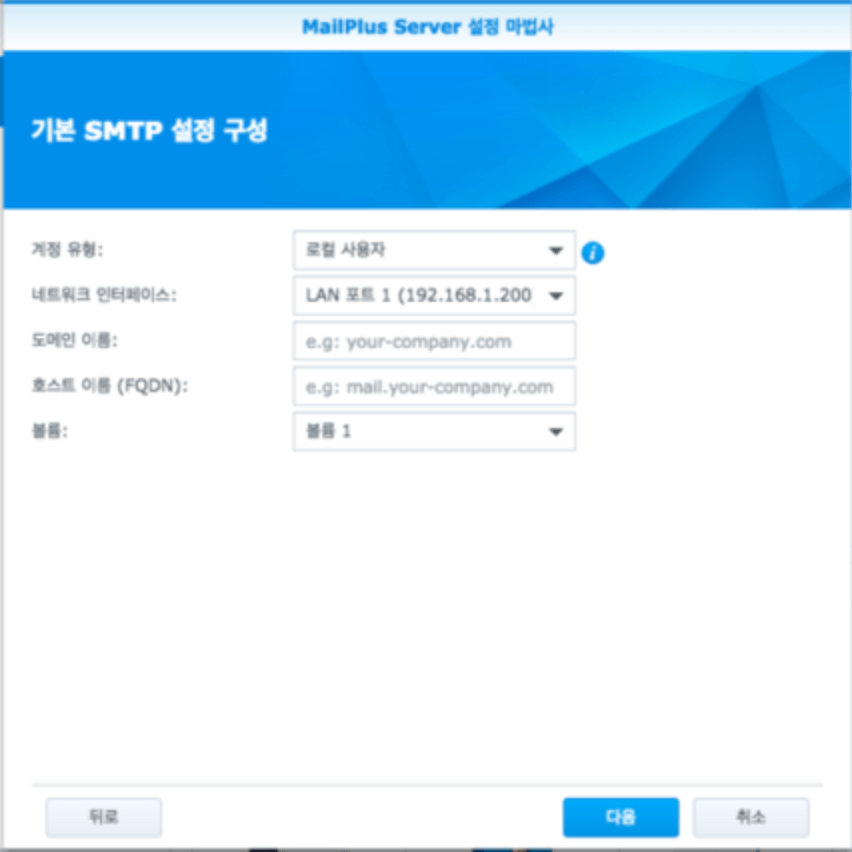
First of all, the above screen appears when the server is first implemented Account types, network interfaces, and volumes are automatically selected. You can change the volume settings to where you store the data that you take up when you create a mail server. At the end of the mail server deployment, a shared folder named MailPlus is automatically created on that volume.
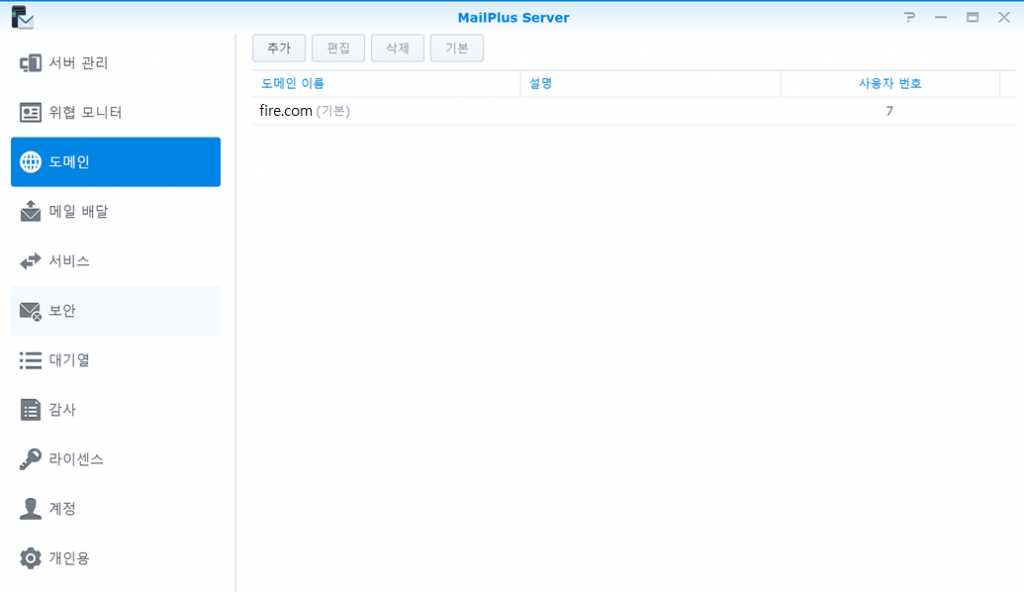
In Domain Name and Host Name, type the domain you own. For example, if your domain is fire.com you can both type fire.com
(FQDN) means the entire subdomain name, e.g. mail.fire.com, drive.fire.com, or file.fire.com if you own a domain named fire.com If you want to install the mail server in a sub-domain, write down the FQDN to fit the desired sub-domain. However, the domain and the FQDN you own should be unified into fire.com
The following screen can be viewed by pressing the next button.
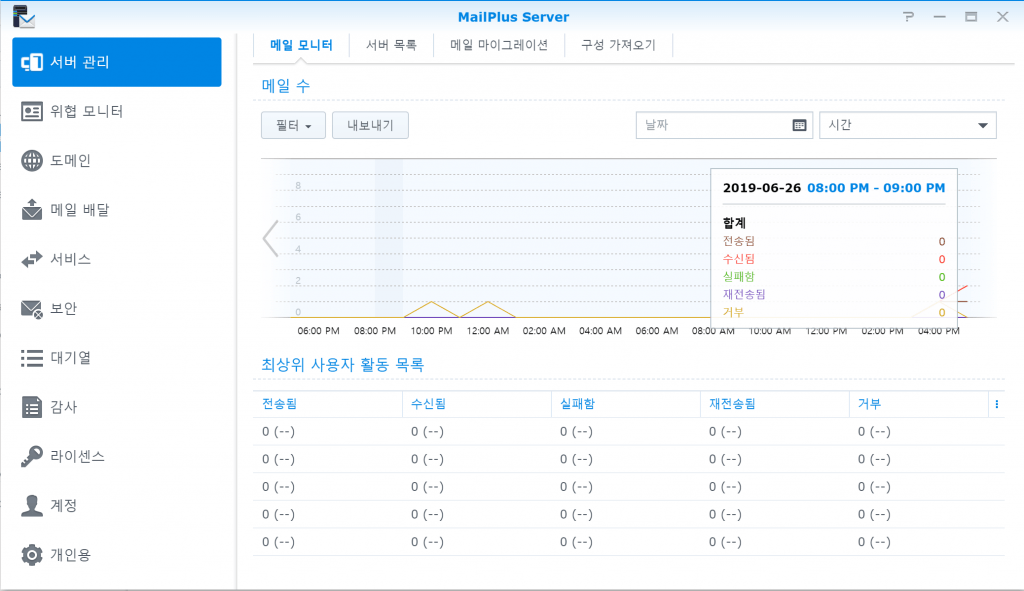
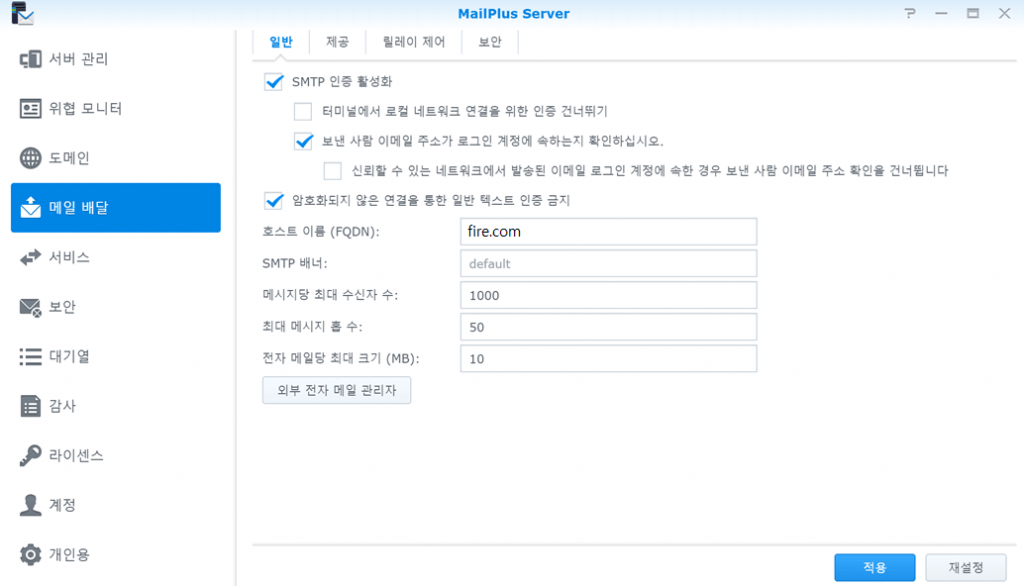
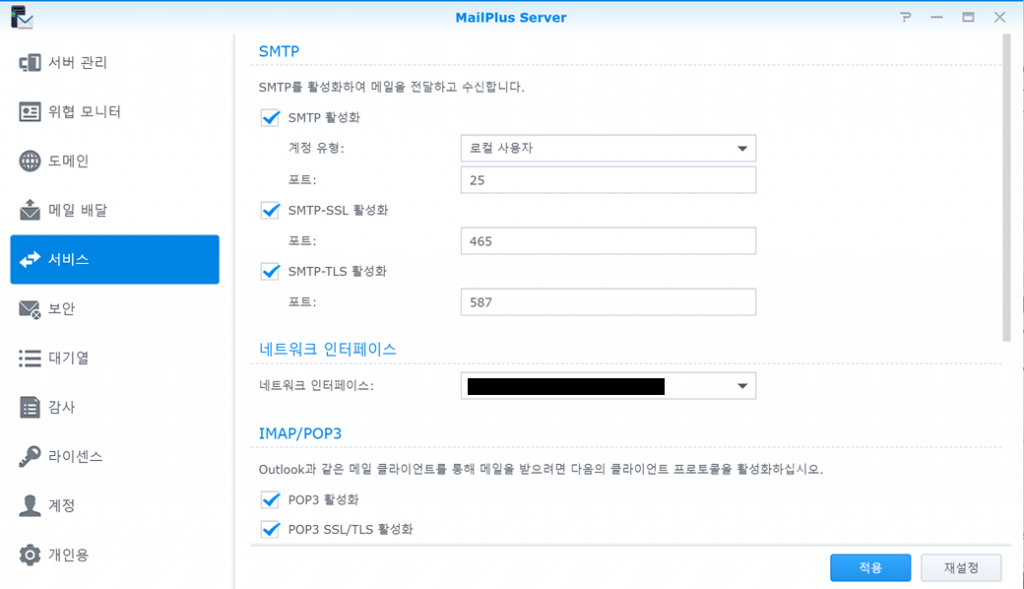
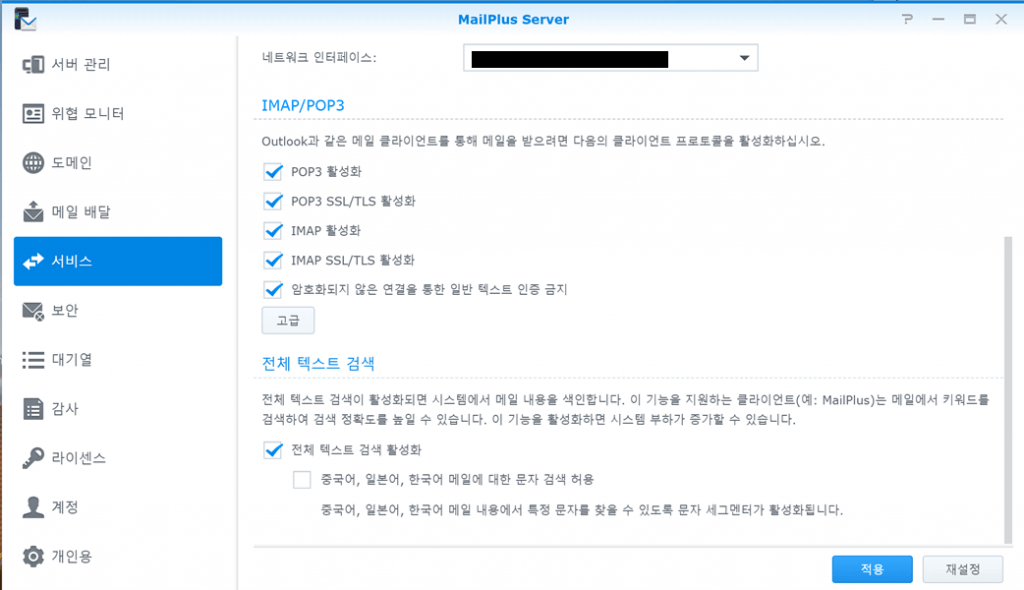
(First of all, I would like you to take into account that the server is already in the process of being deployed. The current settings for each tab are as follows: )
Then, the account needs to be activated. Navigate to the Accounts tab and activate the account you want to activate.
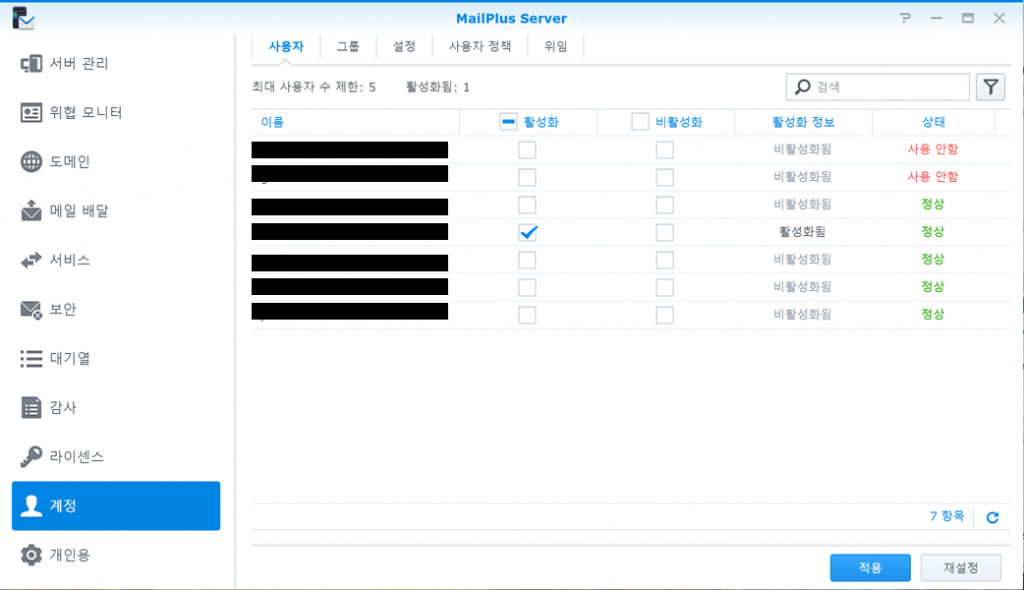
Activating an account is free of charge for up to five, after which you have to pay for a license. I don’t think there will be so many things to use e-mail beyond five if it’s not for the business anyway.
In addition, there is a Security tab. There are various spam filter settings and anti-virus settings on the security tab, so please set the settings as you like.
(3)Domain setup and (4)Application to mail clients should be addressed in detail in the next posts.
Series
- Synology NAS to set up mail server Part 1 (Mail plus installation, setup)
- Synology NAS to set up mail server Part 2 (DomainDNS, SPF, DKIM, DMARC settings)
- Synology NAS to set up mail server Part 3 (Certificate, Receiving Test)
- Synology NAS to set up mail server Part 4 (Using Smartphone Mail Application)
0 Comments