한국어
If you have confirmed that it is possible to receive mail from a browser, it is time to link it to a Smartphone’s mail app. In fact, it will be very difficult to check your mail in real time if you don’t use your mail application on the smartphone.
In this case, I will try to link it using Samsung Galaxy’s basic mail app.
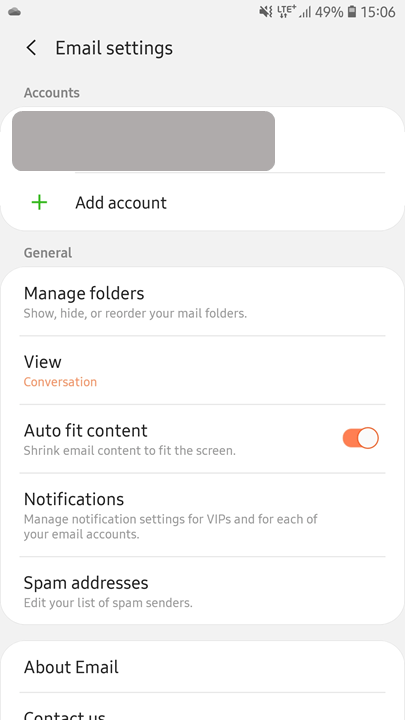
Once you have turned on the email and entered the setup, you can see the following screen: (Existing accounts are mosaic-treated)
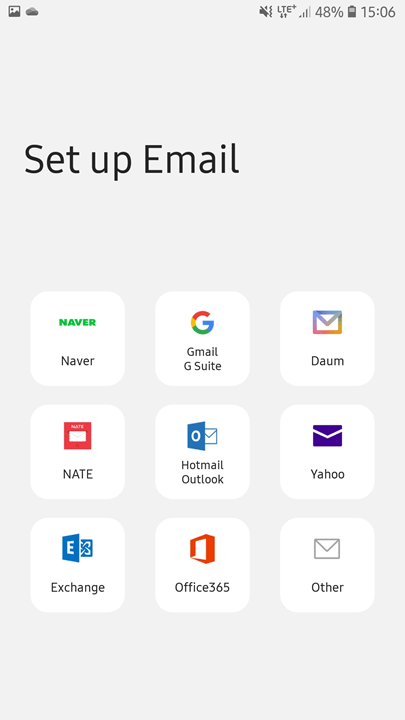
You can check the above screen by pressing the Add Account button. Select a guitar from the screen. (Because it’s a personal mail server)

After you select others, put the mail address and password you set in NAS into the blank, and then select Manual Settings. After that, we will choose IMAP.
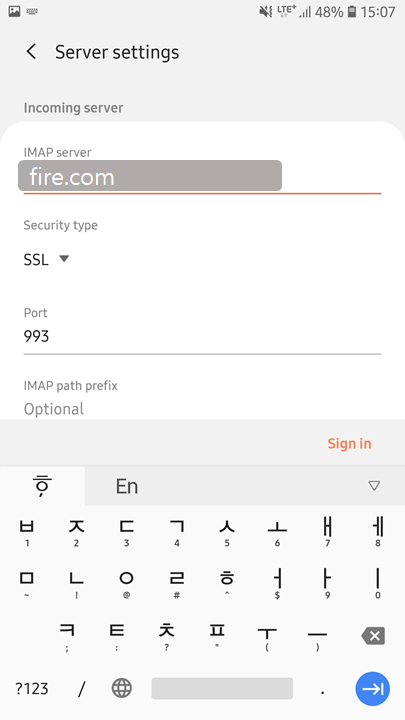
We have not created imap.fire.com domain, so we just modify it to fire.com. Secure option is SSL and port 993 port. (That’s why we’ve port-forwarded 993 ports in Part 1)
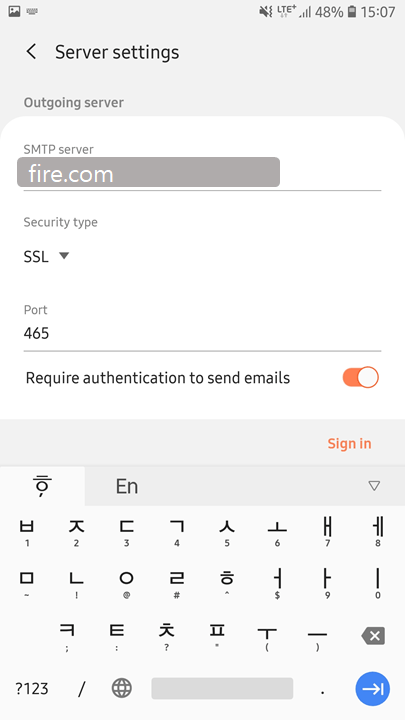
The SMTP server is same address as the IMAP server address and selects SSL, port 465. Then select Sign In.
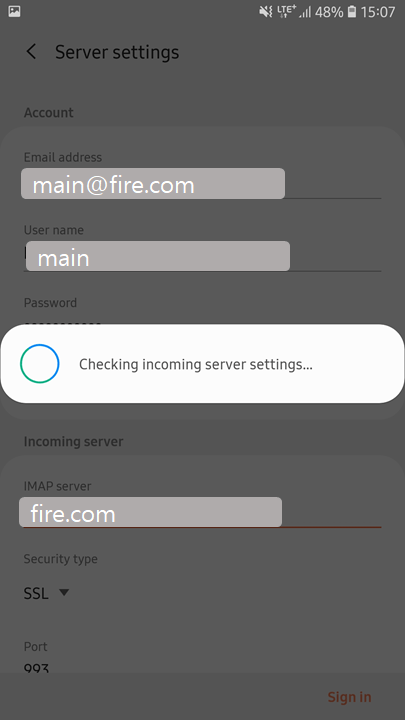
As you can see, the setup starts and finishes.
If you enter a subsequent setup, there is a synchronization interval or a detailed setting. These settings are not related to server settings, so you can set them as you like.
Series
- Synology NAS to set up mail server Part 1 (Mail plus installation, setup)
- Synology NAS to set up mail server Part 2 (DomainDNS, SPF, DKIM, DMARC settings)
- Synology NAS to set up mail server Part 3 (Certificate, Receiving Test)
- Synology NAS to set up mail server Part 4 (Using Smartphone Mail Application)
0 Comments