한국어
In the previous post, the package was installed and the domain was set up for the mail server deployment. If the deployment is successful, it should be work sending or receiving email.
Before I go into the Mail Plus, I want to make it accessible through my address like gmail.com. So far, we’ve done a domain example with fire.com so we’ll try to make it accessible like gmail when you type mail.fire.com.
First, if you look at the control panel, there is a menu called Application Portal. Here I’m going to make a simple connection address.
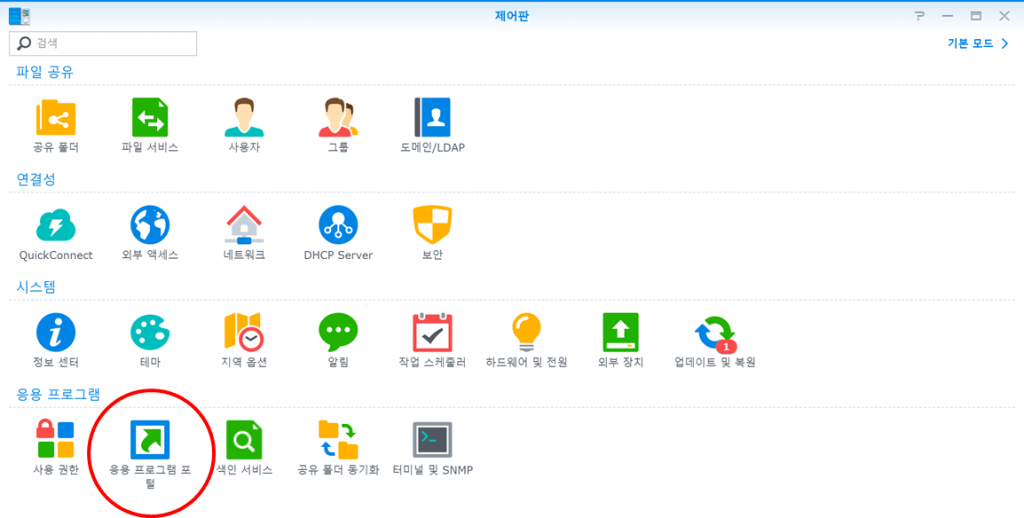
You can see the following screen.
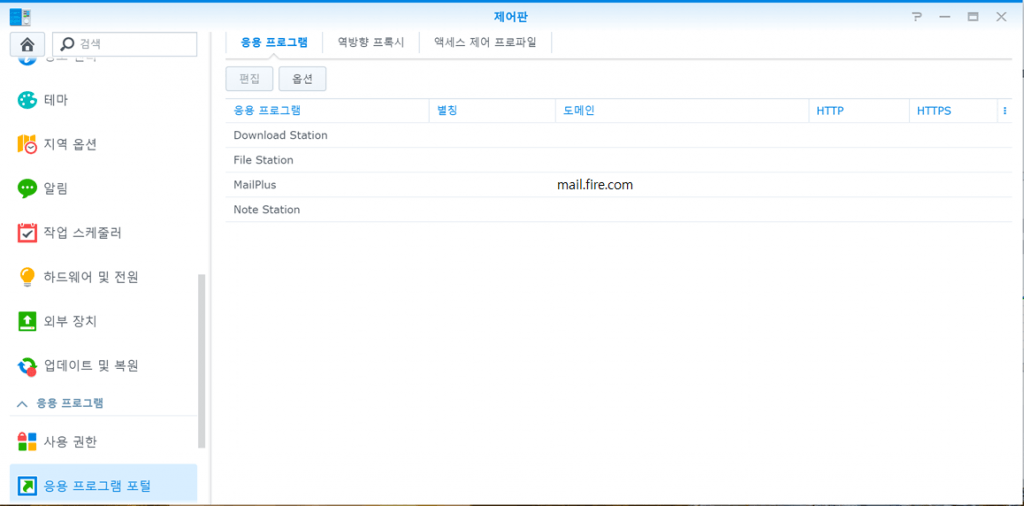
The Application Portal displays the domains that you have already set up. You can make it like this. Click Applications and click Edit.
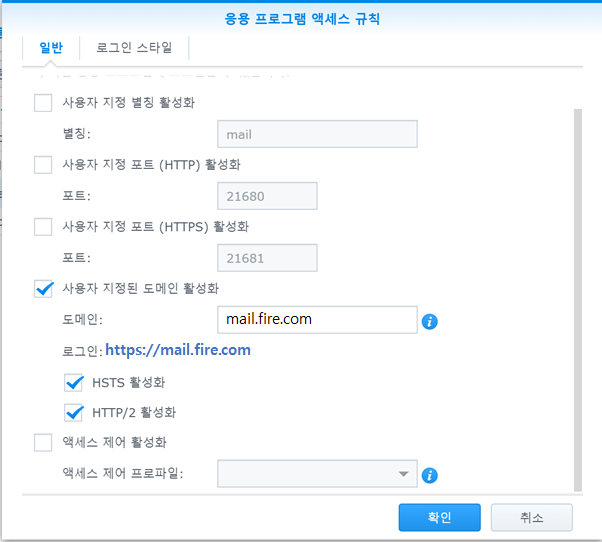
It also needs to check, HSTS, and HTTP/2 for user-specified domain activation. Enter the domain you desire in the domain (e.g. mail.fire.com).
It is not the end. Creating and accessing a subdomain called mail.fire.com requires two major steps.
(1) Setting up domain DNS
(2) Setting up certificates
(1) Setting up domain DNS
The default method for setting up domain DNS can be found in Part 2 post.
– Record type: A
– Host: mail (to make mail.fire.com)
– Value: Actual external IP (111.111.111 was used as an example)
Or, if you have already set record types A, @, 111.111.11.111, you can simply set them to the cname record type.
-Record type: cname
-Host: mail
– Value: fire.com.
(2) Setting up certificates
You need to create a security certificate separately.
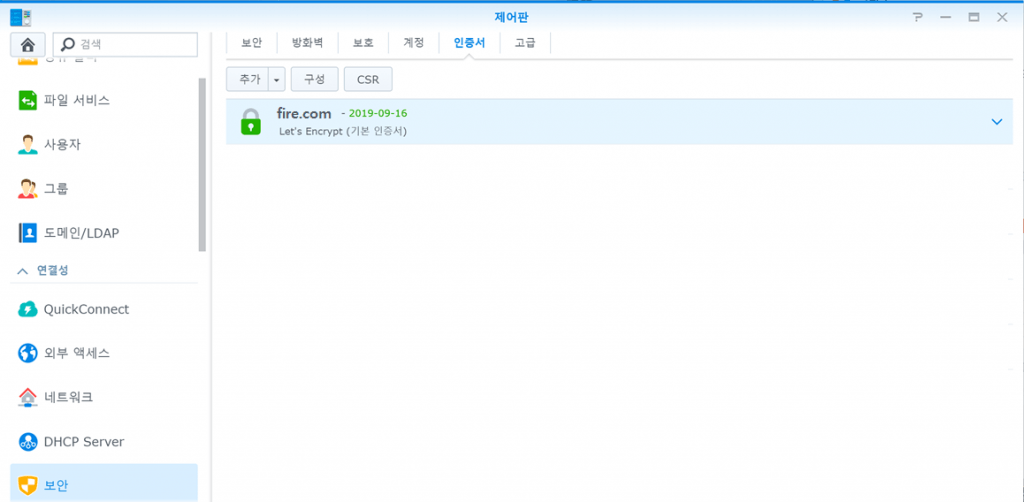
Go to Control Panel – Security – Certificates to see a list of certificates you have already created. I’ll make it assuming there’s no one here.
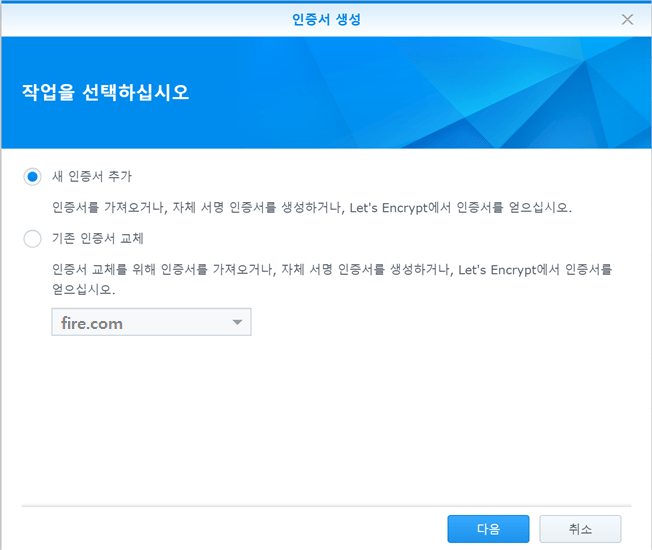
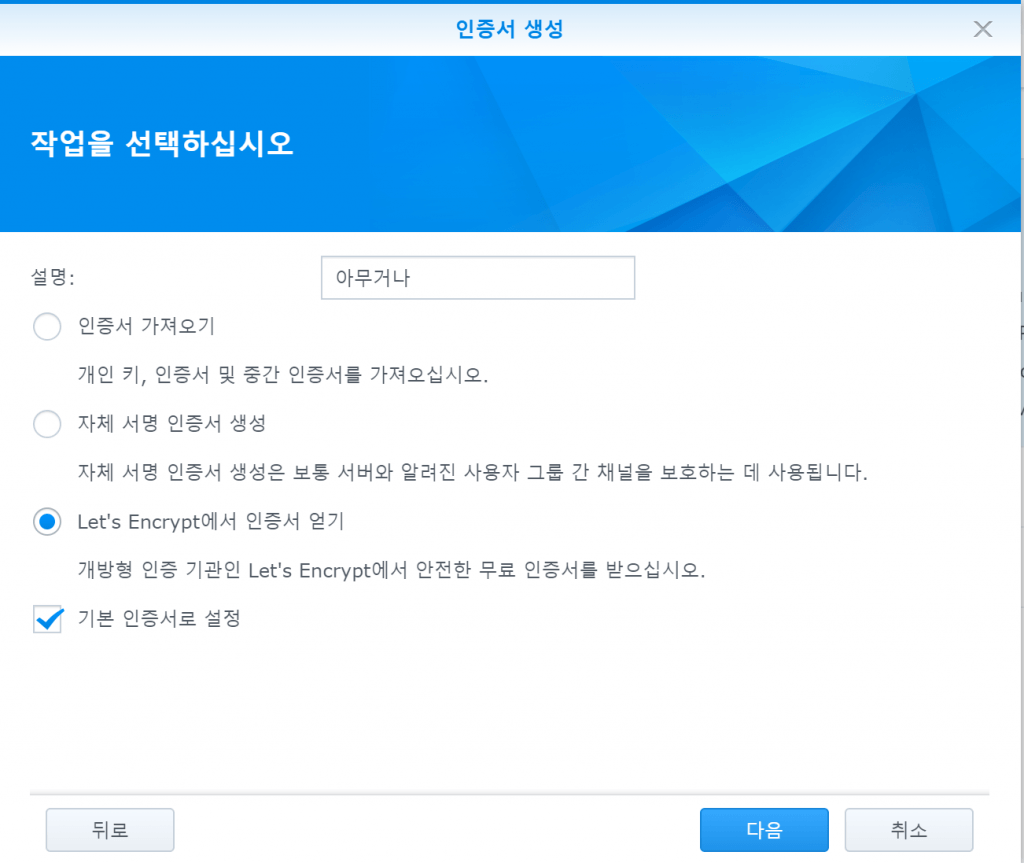
Click the Add New Certificate button. If you already have a certificate registered in the domain, click Replace existing certificate. All you have to do is write down the explanation for yourself.
You will receive a Let’s Encryption Certificate. Check the settings with the default certificate.
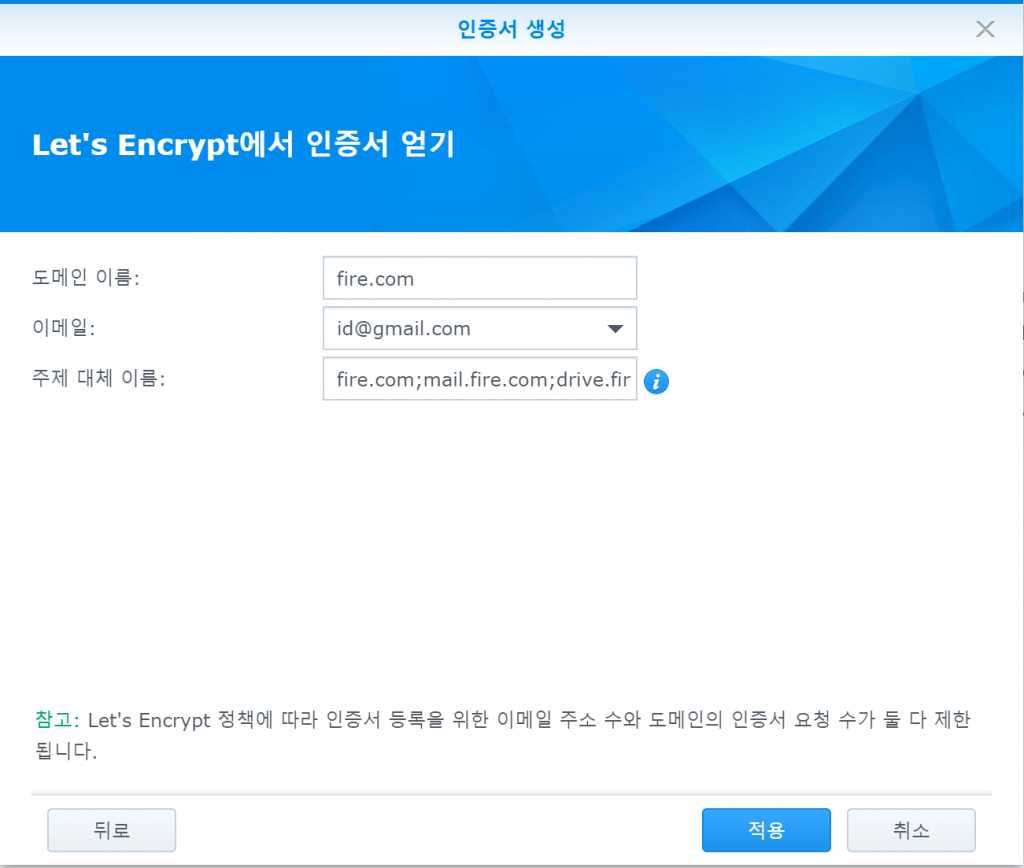
In the Obtain Certificate window, write down your domain name and the email you use. The next important thing is the subject replacement name. Write all subdomains, including the current domain, in the Subject Alternative Name. Put fire.com and mail.fire.com here.
e.g. fire.com;mail.fire.com;drive.fire.com;download.fire.com, etc.
After applying, you can see the certificate is applied. Now test it.
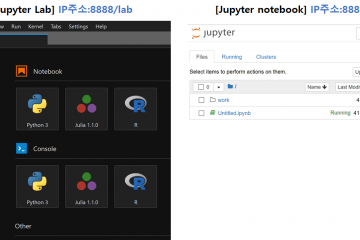
Enter mail.fire.com in a browser and sign in. You can see the following screen:
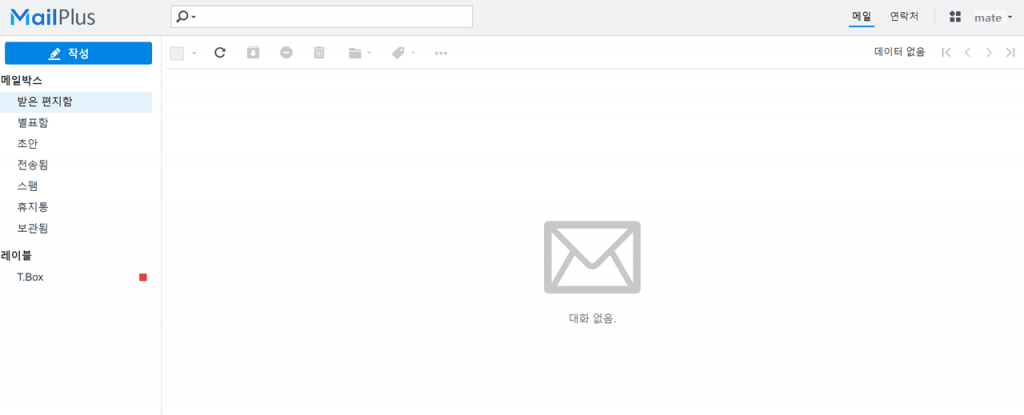
Now I’m ready to test your personal mail. You can use it now.
You can check log of the results of the receiving or sending test in the mail plus server package.
Series
- Synology NAS to set up mail server Part 1 (Mail plus installation, setup)
- Synology NAS to set up mail server Part 2 (DomainDNS, SPF, DKIM, DMARC settings)
- Synology NAS to set up mail server Part 3 (Certificate, Receiving Test)
- Synology NAS to set up mail server Part 4 (Using Smartphone Mail Application)
0 Comments